Magento 2: Powerful Web Development Platform
Magento 2, with the outstanding features and functionalities, is an e-shop powerhouse. Although the web development platform market is flooded with plentiful solutions with different capabilities and capacities, Magento 2 stands out!
Why choose Magento 2?
- Magento 2 offers remarkable speed and performance.
- Magento 2 offers advanced search and a streamlined checkout process.
- Magento 2 can integrate with useful extensions.
- Magento 2 offers e-mail marketing automation.
- Magento 2 offers alluring web designs.
- Magento 2 supports secured payments.
- Magento 2 is easy to maintain and upgrade.
- Magento 2 stores are scalable.
- Magento 2 has a flexible architecture.
Also Read Magento 1: End of journey by June 2020. High time to shift to Magento 2
Learn to install Magento 2 manually
Step 1: Download Magento packages: Latest Magento 2.
Step 2: Upload to your server.
Download the Zip file and upload it to your server. WinSCP, Filezilla can be used to upload to the server.
↓
Extract it to the public HTML directory, also known as the Magento root directory.
- In the case of shared hosting, you can use unzip/extract feature in order to extract the Magento package.
- In case you are running on your server, follow the below commands:

Update Permission
Write permission for these folders: var, app/etc, pub by following the below commands:

Step 3: Running Magento Setup Wizard
The setup wizard presents a user with a series of dialog boxes that leads a user through a series of well-explained steps. The complex tasks, which aren’t performed frequently, can become easier to perform using a wizard. Skipping pages aren’t allowed, it’s mandatory to enter all the required information on every single page, to proceed to the next step or next page.
Enter this URL in the browser address bar: http://www.xyz.com/magento2. example.com is your domain name such as naturalquilts, naturalquilts.com, 127.0.0.1 or your staging domain. magento2 is Magento 2 folder in htdocs Usually, it is http://naturalquilts/magento2
↓
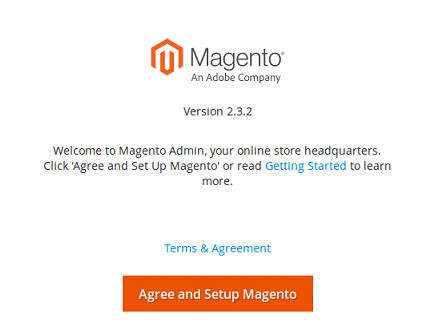
On the first page, click Agree and Set up Magento. To complete the installation, Continue with the below topics in the sequence demonstrated.
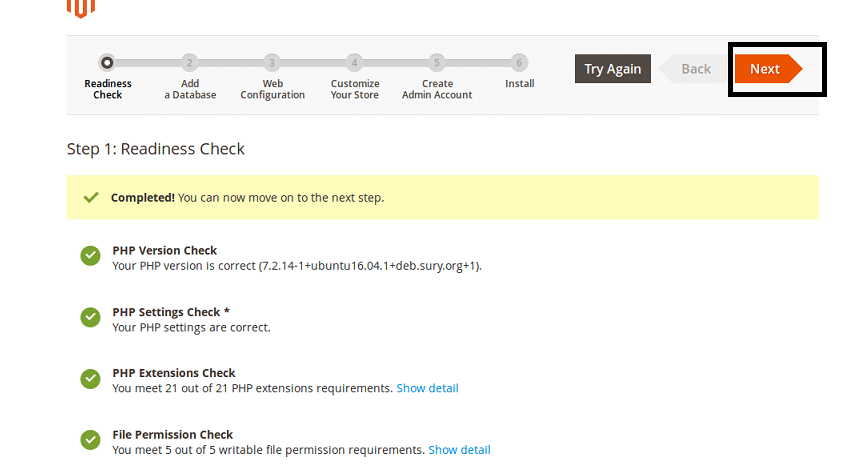
3.1: Readiness Check

- PHP Version Check.
- PHP Settings Check
- PHP Extension Check
- File Permission Check
- Click on Start Readiness Check.
Click Next.
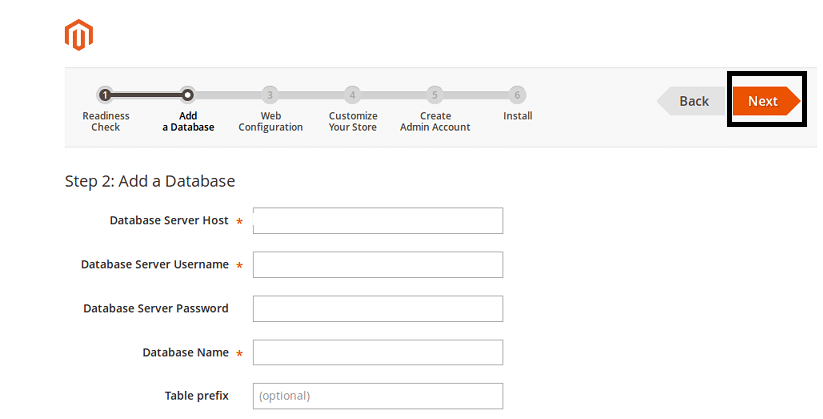
3.2: Add a Database
Fill complete database information and then click on Next.
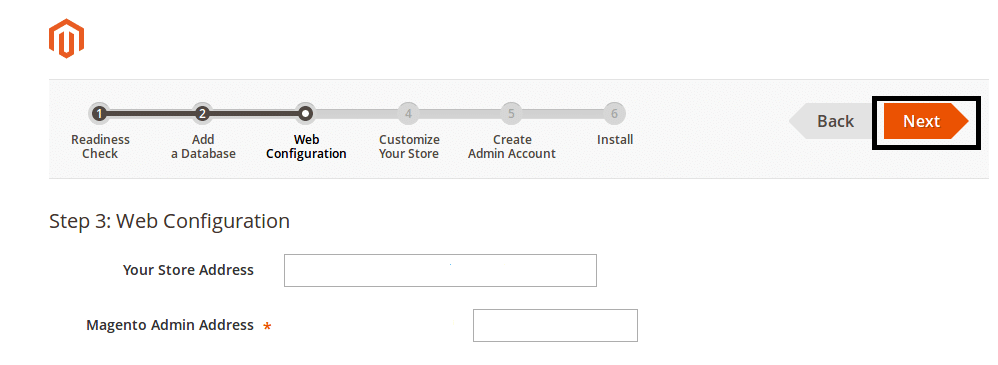
3.3: Web Configuration
Enter the below details:
- Your website/store address: www.xyz.com
- Enter the URL required to access Magento Admin, i.e., Website’s Backend.
Click Next.
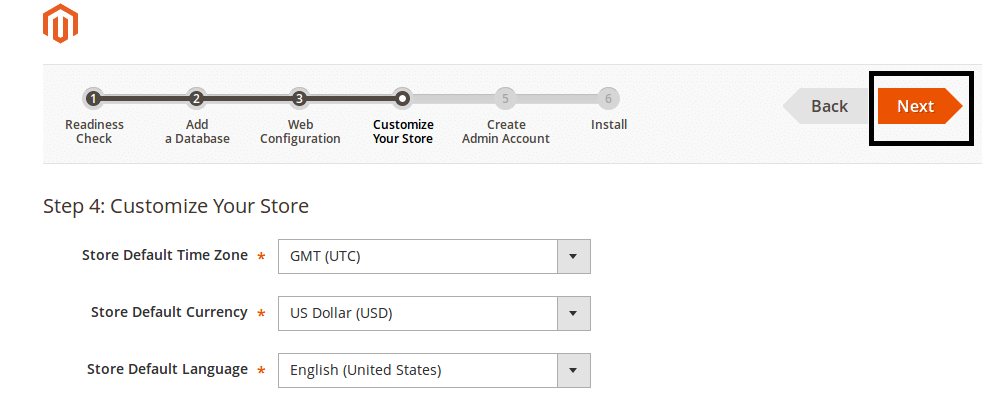
3.4: Customize your Store
You can customize your website/store time zone, currency, language, weight unit, the first day of the week, and weekend days. After selecting the appropriate options, click Next.
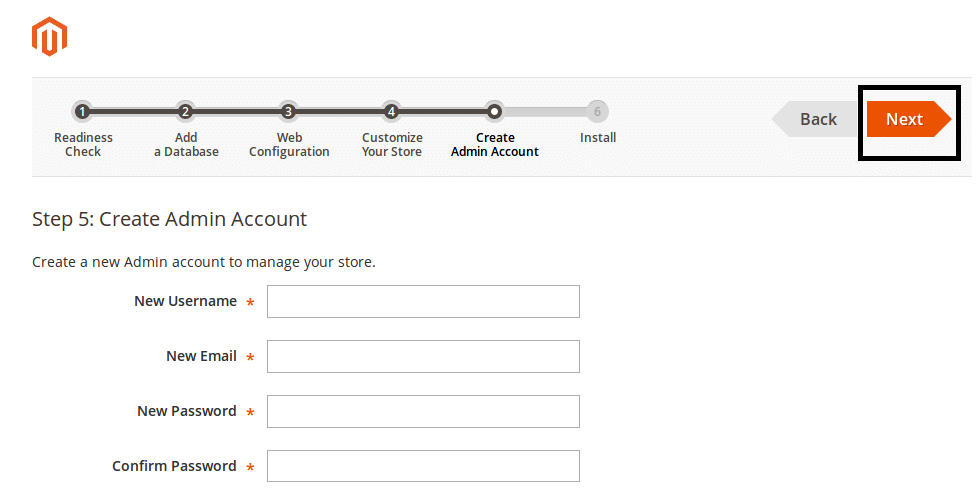
 3.5: Create Admin Account
To create an Admin Account, it is required to enter the Admin information listed below:
- New Username
- New E-Mail id
- New Password
- Retype Password to Confirm
Then Click Next.
3.6: INSTALL
After successfully completing all preceding steps in the Setup Wizard, click on Install Now.
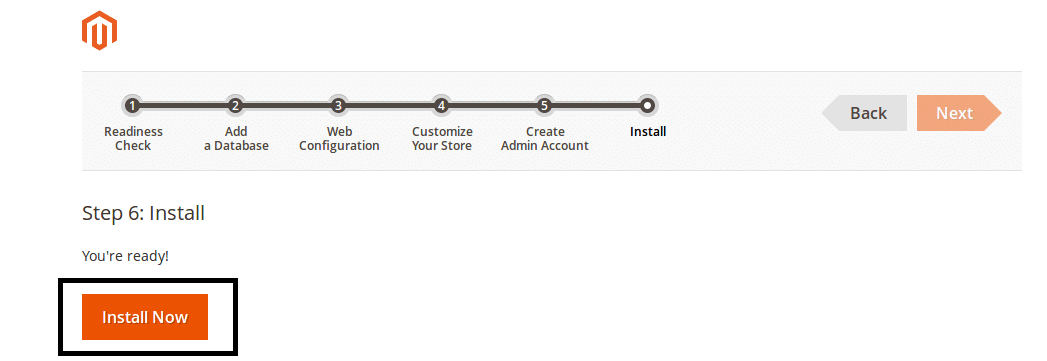
The message Success will be advertised to illustrate a successful installation.
Step 3: Check the Results
Go to the frontend and backend to check the results.
Congratulations! Magento 2 has been installed successfully.
Here, it comes to the end of the tutorial. We hope you’ve learned to install Magento 2 successfully.
If you are facing any trouble, you can contact our Magento Experts. We’ll be happy to answer your queries.